Abby’s DIY wallpapered dressing table

Introducing a new guest nester! Australian Abby Matthews used to blog about the things that inspire her at Two Little Dicky Birds. Abby’s remake of this tired, chipped pine dressing table reminds me of my wallpapered cart, but she used an entirely different (and better?) process, so I had to share it with you. (This post contains affiliate links. If you use these links to buy something, I may earn a small commission. You can read my full disclosure here.)

Abby writes: “I was inspired by Bryonie Porter’s wallpapered furniture, but wasn’t confident that I could carry off wallpapering the entire table, so I decided to just apply the paper to the top. It was just as well, as I botched the first wallpaper application and used up the bulk of the paper the second time around. The wallpaper I used is a Florence Broadhurst design from an offcut won on eBay. It’s currently used as a writing/computer desk in our living area and is definitely my favourite piece of furniture.” Thanks, Abby!

How to wallpaper furniture
SUPPLIES
TOOLS
INSTRUCTIONS

1. The dressing table originally came with a mirror attached. This was removed and set aside. Remove the drawers and either tape the handles with painters tape or remove completely and set aside.
2. If necessary, strip and prepare surface. Sand back any glossy varnish or peeling paint. Wipe clean with sugar soap (½ cup sugar soap to ½ bucket of water) and a cloth. Leave to dry. (Don’t forget the drawers!)
Note: If you want to leave the finish as it is, just give it a good clean with sugar soap and leave to dry.
3. Prime the surface before spray painting. This will reduce the number of coats required and prevent any bleed-through of remaining stain or paint. Dry according to instructions on can.
4. Lightly sand and wipe down with a damp rag or tack cloth.

5. Apply a coat of spray paint. It is best to spray a few light coats rather than a thicker coat as otherwise it will tend to run. Once you have sufficiently covered the dresser, leave it to dry overnight.
6. Cut the wallpaper to size. Roll it out, face down, on a clean, dry surface. Place the dresser upside down on the paper and trace around the outside with pencil. Cut with scissors or a Stanley knife. Turn dresser back upright and check the fit. You may need to trim it slightly for a better fit.
NB. As my dresser had a rounded edge I had to take 2-5mm (~1/8 inch) off to avoid papering the curved edge. It is difficult to adhere the wallpaper to a curve, so it’s best to stick with flat surfaces where possible.
7. Spray both the table and paper with permanent spray adhesive. Wait a few seconds until both feel tacky to the touch, otherwise they won’t stick (as I found out the hard way!). The dresser may need two coats as it can absorb quite a bit of glue. Now the tricky part: Line up the wallpaper with the top of the table, working quickly as the glue will stick quite quickly, smoothing out any air bubbles as you go. Leave to dry overnight or even for a couple of days. This is really important. Don’t be tempted to skip to the next step early or the paint finish is likely to run.
8. Brush or spray on clear acrylic. This helps the wallpaper bond to the furniture, protects it from spills and scratches, and makes it a lot easier to clean. If you’re using spray, you’ll need a few coats (five or more), leaving to dry (as per the manufacturer’s instructions) between each coat.

9. Reattach the handles on the drawers if you have removed them, and replace in the table. Congratulations – you’re all finished!

Share this story
Reader Gallery
Made this project? Email your photo(s) to monica (at) craftynest (dot) com, and I’ll share your version here!


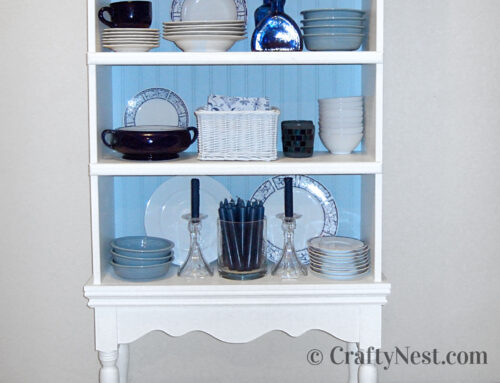
Jan Shore from Missouri revamped this 1960s buffet. She writes, “I saw your before and after wallpapered dressing table, and I thought I would send you pics of a few of the furniture pieces I have re-done using paint, scrapbook paper, and polyurethane.”


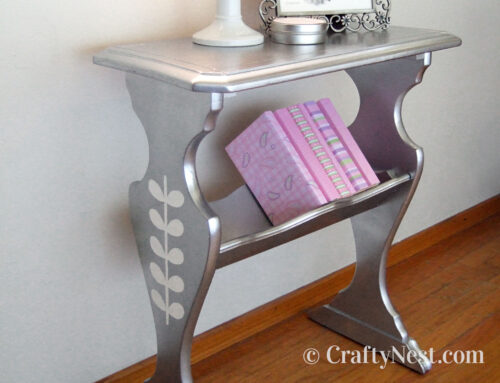
Jan Shore also wallpapered this cute little table. The trim pieces are an inventive touch. She writes, “I purchased this old table at a resale shop and prepped, painted, and papered it. I hope you find these items inspiring!”

