
DIY rewired & painted table lamp with matching finial

My friend Julie Chai, garden editor at Sunset magazine, gave me this lamp base as a project. (Watch Julie teach you how to make your own compost bin here.) Southwest isn’t my style, plus it had rusty hardware and a tattered, taped cord. As soon as Julie gave it to me, I knew exactly what I wanted to do with it.

I had long admired Jill Rosenwald’s lamps that were sold through Maine Cottage, but at $425 each, they were out of my price range. I decided to rewire and paint this table lamp in a similar design as the three ball-shaped lamps below. I got a bit carried away with all the flowers (in eight different shades of green/blue), but it was so darn fun!

UPDATE 2/16/21: Jill Rosenwald no longer makes or sells the specific lamps that inspired this project. She still makes gorgeous lamps and other ceramics, but I wanted you to see the lamps I had admired at Maine Cottage, so I hunted the web to find pictures of them. I found so many photos that I wanted to share them all. Above and below are only some that I found.

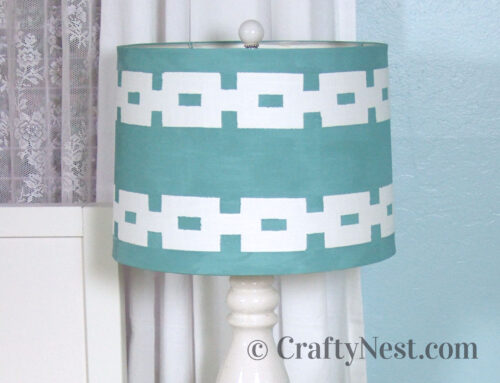
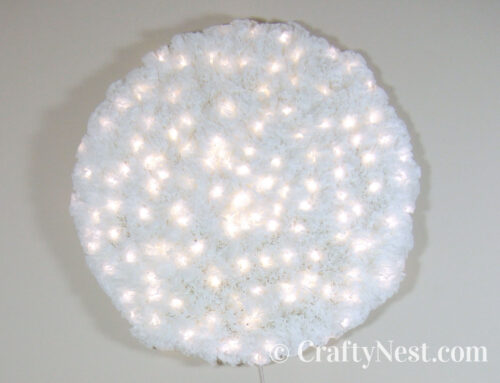
I had all the supplies on hand, which would make the lamp practically free — except for the $50 lampshade. It still beats $425, though. In the end, my favorite part was the super inexpensive DIY round finial. This one is made the same way I made my creamy white ball finial. It’s just more colorful.

Never have I seen lamps quite as colorful and beautiful as Jill’s — each one is a work of art. If I could have bought one back when I originally wrote this post, I would have bought the creamy-colored ball lamp (far left in the first photo). Today, I’m loving her blue period.

How to rewire & paint a table lamp — plus make your own matching final
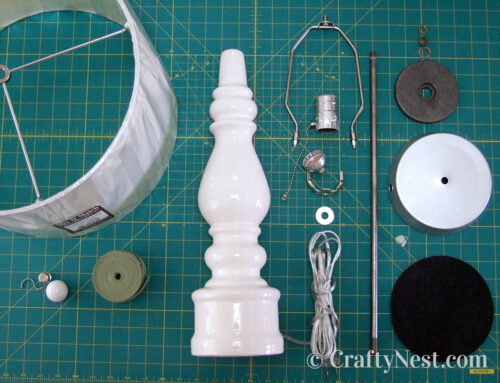
SUPPLIES
TOOLS
INSTRUCTIONS

1. First unplug the lamp. Remove and discard the bottom felt piece (if it’s still attached), cut the cord, and disassemble the light fixture. Remember how to reassemble the pieces. Set them aside.

2. Paint two coats of primer onto the base. Let dry 15 minutes between coats.

3. Apply two coats of your base color paint. (I custom mixed this color green.)
For the finial: Hammer a nail into a scrap piece of wood, then place the wooden bead in the nail to paint it. (Thanks to Highjumpgirl for this suggestion.) Prime and paint the bead as above.

4. When the paint has completely dried, lightly sketch your design onto the lamp base.

5. Using your smaller brushes, paint over your sketch. I used ten different shades of blues and greens in my design—spare paints I had on hand. You can use acrylics from an art store or samples from a paint store. When the paint is completely dry, erase any wayward pencil marks.

6. Spray two coats of clear lacquer over the painted base and finial. Let dry 15 minutes between coats.

7. Rewire the lamp, replacing any necessary parts. I replaced the light socket and cord, but reused the rest of the original hardware. The directions are on the back of your lamp kit. Two of my original hardware pieces were rusted, so I removed the loose rust with a wire brush and spray-painted them silver.

8. String the cord and hardware through the lamp. Assemble the pieces per the directions. Make sure you tie the cord in a knot inside the hole at the base of the lamp to prevent the cord from accidentally being yanked out. Insert the harp into the harp bottom.

9. Trace the base of the lamp onto a piece of card stock.

10. Cut out the card stock and felt the same size. Glue the circles together. Let dry, then glue them—felt side facing out—to the base of your lamp. Let dry.

11. Insert the metal finial into the hole at the bottom of your wooden bead. Press them tightly together. The fit should be snug enough that no glue is required.

12. Attach the shade and finial, then flip the switch. Let there be light!

Share this story
Reader Gallery
Made this project? Email your photo(s) to monica (at) craftynest (dot) com, and I’ll share your version here!
Leave A Comment